

Introduction
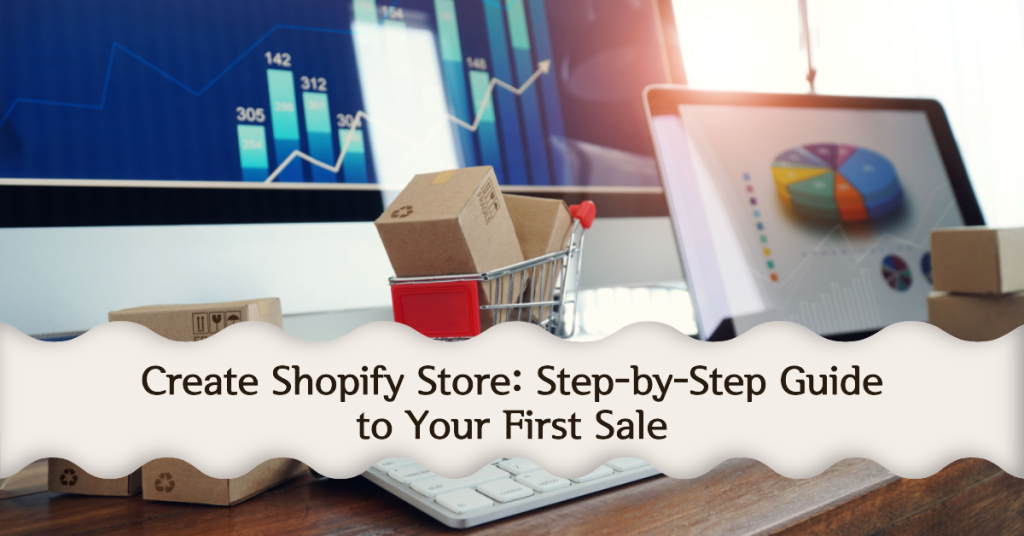
Starting an online store has never been easier, thanks to platforms like Shopify. If you’re eager to create a Shopify store and enjoy the countless benefits of owning an e-commerce business, you’re in the right place. In this comprehensive guide, we’ll walk you through the process step by step, from choosing the right theme to setting up payment methods.
Why Choose Shopify for Your Online Store?
Before we dive into the nitty-gritty of creating your Shopify store, let’s briefly touch on why Shopify is an excellent choice for your online store.
- Ease of use: One of the significant advantages of Shopify is its user-friendly interface. Even if you have no technical expertise, you can still create an online store with ease.
- Customization: With a wide array of themes and apps, Shopify makes it easy for you to customize your store according to your brand’s unique needs and preferences.
- Scalability: As your business grows, Shopify provides tools and features to help you scale with ease, such as inventory management, order processing, and customer support.
- Reliable and secure: With Shopify handling the technical aspects like hosting, security, and updates, you can focus on what you do best – selling products and growing your business.
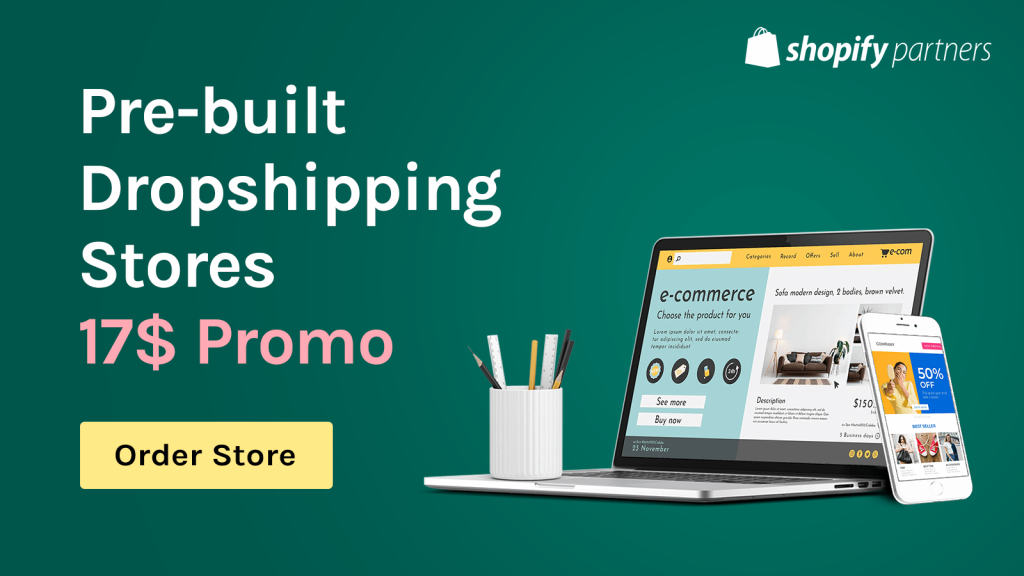
Rather than starting from scratch, you can also save time and effort by ordering a pre-built dropshipping store from Ecomprofithub. These amazing-looking Shopify stores are ready to accept orders and help jumpstart your e-commerce business.
Step 1: Choose Your Niche and Products Wisely
Before you can create a Shopify store, you need to decide on a niche and choose the products you’ll sell. Here are some tips for selecting a niche and products:
- Identify your passions and interests: Building a business around your passion increases the chances of success as you’ll be more motivated to work on it. Additionally, your enthusiasm for the topic will shine through in your marketing and communication efforts.
- Research the market: Utilize tools like Google Trends and Keyword Planner to evaluate the demand for your chosen niche. Look for high demand, low competition niches to maximize your chances of success.
- Consider profit margins and shipping costs: Flexible profit margins and affordable shipping costs are essential to thrive in e-commerce. Research suppliers and shipping options to ensure you can offer competitive prices without sacrificing your bottom line.
Step 2: Select the Perfect Shopify Theme
Your Shopify store’s design plays a crucial role in attracting and retaining customers. Fortunately, Shopify offers a plethora of themes to choose from, catering to various niches and preferences. When selecting the perfect theme for your store, consider the following factors:
- Mobile responsiveness: Ensure the theme is compatible with mobile devices, as a significant portion of online shoppers make purchases using their smartphones.
- Customization options: Look for a theme that allows maximum customization without having to modify the code. This way, you can easily tailor your store to your brand identity.
- Loading speed: A slow-loading website can lead to increased bounce rates and lost sales. Opt for a lightweight theme that loads quickly for an optimal user experience.
Step 3: Configure Your Store Settings
Configuring your Shopify store settings effectively is crucial for a smooth customer experience. Here are the key settings you must pay attention to:
- General settings: Add your store name, address, and contact information. Set the language, currency, and measurement units.
- Payment gateways: Choose the payment methods you’ll accept, such as credit cards, PayPal, and other third-party gateways. Shopify has its payment solution – Shopify Payments – that integrates seamlessly with the platform and supports various payment methods.
- Shipping settings: Set up shipping zones and rates according to your chosen shipping carriers and methods. Remember to factor in shipping costs when setting your product prices.
- Taxes: Configure tax settings to ensure that tax calculations are accurate at checkout. Shopify automatically calculates sales tax for orders based on your store location and customer location. However, verify that the tax rates are correct for your particular situation.
- Checkout settings: Customize the checkout process, configure abandoned cart recovery emails, and decide whether to allow guest checkouts.
Step 4: Add Products and Collections
With your store settings in place, it’s time to add the products you’ll be selling. Here’s how to add products and organize them into collections effectively:
- Add products: Include relevant product information such as title, description, images, price, and inventory. Make sure to write unique and engaging product descriptions that highlight the benefits of your products.
- Organize products into collections: To make it easy for customers to find specific products, organize them into relevant collections. For example, you can categorize products by type, brand, or theme.
- Tags and product types: Utilize tags and product types to improve search functionality within your store and make it simpler for customers to find precisely what they’re looking for.
Remember to keep your product lineup updated and continually optimize your product pages for SEO to boost their organic visibility.
Step 5: Get the Right Shopify Apps
Shopify’s App Store offers a wide array of apps that can enhance your store’s functionality and improve customer experience. While you don’t need to add every app right away, consider incorporating the following types of apps to streamline store management and boost sales:
- Marketing and sales apps: Tools like email marketing, social media integration, and abandoned cart recovery can help you increase conversions and reach a wider audience.
- Customer support apps: Utilize live chat or help desk apps to provide excellent customer support and foster a loyal customer base.
- Inventory and shipping management apps: Streamline your store’s backend operations with apps that help manage inventory, automate shipping labels, and track orders.
Be discerning when selecting apps for your store – consider your specific needs, budget, and the app’s credibility before making your decision.
Step 6: Set Up Your Store’s Domain and Email
- Domain: You will need to choose and register your store’s domain name to create a seamless brand identity. Shopify allows you to buy a domain directly through the platform or connect an existing domain bought elsewhere.
- Email: Set up a professional business email with your store’s domain (e.g., [email protected]). This adds credibility to your brand and makes customer communication more efficient.
Step 7: Optimize Your Store for SEO
Search engine optimization (SEO) is essential for driving organic traffic to your store. Follow these basic steps to optimize your Shopify store for search engines:
- Keyword research: Identify relevant and high-ranking keywords for your niche and incorporate them naturally into your product descriptions, headings, and metadata.
- Optimize page titles and meta descriptions: Write unique and engaging page titles and meta descriptions that accurately describe your store’s content and include relevant keywords.
- Image optimization: Use descriptive file names and alt tags for your product images. This helps search engines understand your images and provides a boost in rankings.
- Site speed: Choose a fast-loading theme and optimize your images to ensure a fast-loading website, which is crucial for high search engine rankings.
- Internal linking: Create a well-structured website with internal linking, ensuring that all pages are easily accessible with just a few clicks.
Step 8: Create a Content Marketing Strategy
Content marketing is an excellent way to drive traffic to your store and establish yourself as an authoritative source in your niche. Consider creating a blog with valuable and informative content that targets your audience’s specific needs and interests. This not only boosts SEO but also encourages social sharing and fosters a loyal customer base.
Step 9: Market Your Store
Now that your Shopify store is up and running, it’s time to promote it to your target audience. Plan and execute a comprehensive marketing strategy that combines social media, email marketing, paid advertising, and influencer collaborations. Test different marketing tactics and track the results to determine which strategies are most effective for your niche.
Conclusion
Creating a Shopify store is a rewarding experience that can lead to a thriving e-commerce business when done right. With our comprehensive guide, you now have the blueprint for setting up your store, optimizing it for search engines, and launching a successful marketing campaign.
Remember, launching an e-commerce store involves constant learning, testing, and optimizing – staying ahead of the curve is essential to maintain your competitive edge. And don’t forget that if you want to make the process even more seamless, you can order a pre-built dropshipping store from Ecomprofithub. Good luck on your e-commerce journey!
FAQ
How much does it cost to create a Shopify store?
What are the benefits of using Shopify?
What are the steps involved in creating a Shopify store?
Signing up with Shopify and creating an account.
Choosing a suitable theme for your store.
Customizing the look and feel of your store.
Adding products, creating product categories, and setting up payment and shipping options.
Optimizing your site for SEO and launching your store.